Intro
Ordero - simple ordering & reservation plugin
- Features: orders, reservations, menu, wordpress plugin
- Type: WordPress Plugin
- Created: 28/08/2014
- By: AnpsThemes
- Version: 1.0.0
- Support: Register for free support
Hello! First of all we would like to thank you for purchasing our plugin! :) If you have any questions that are beyond the scope of this help file, please feel free to create a ticket on our support system.
This file will teach you how to set up and use our plugin.
Have fun using our product!
Best regards,
AnpsThemes
Menu
Add new menu
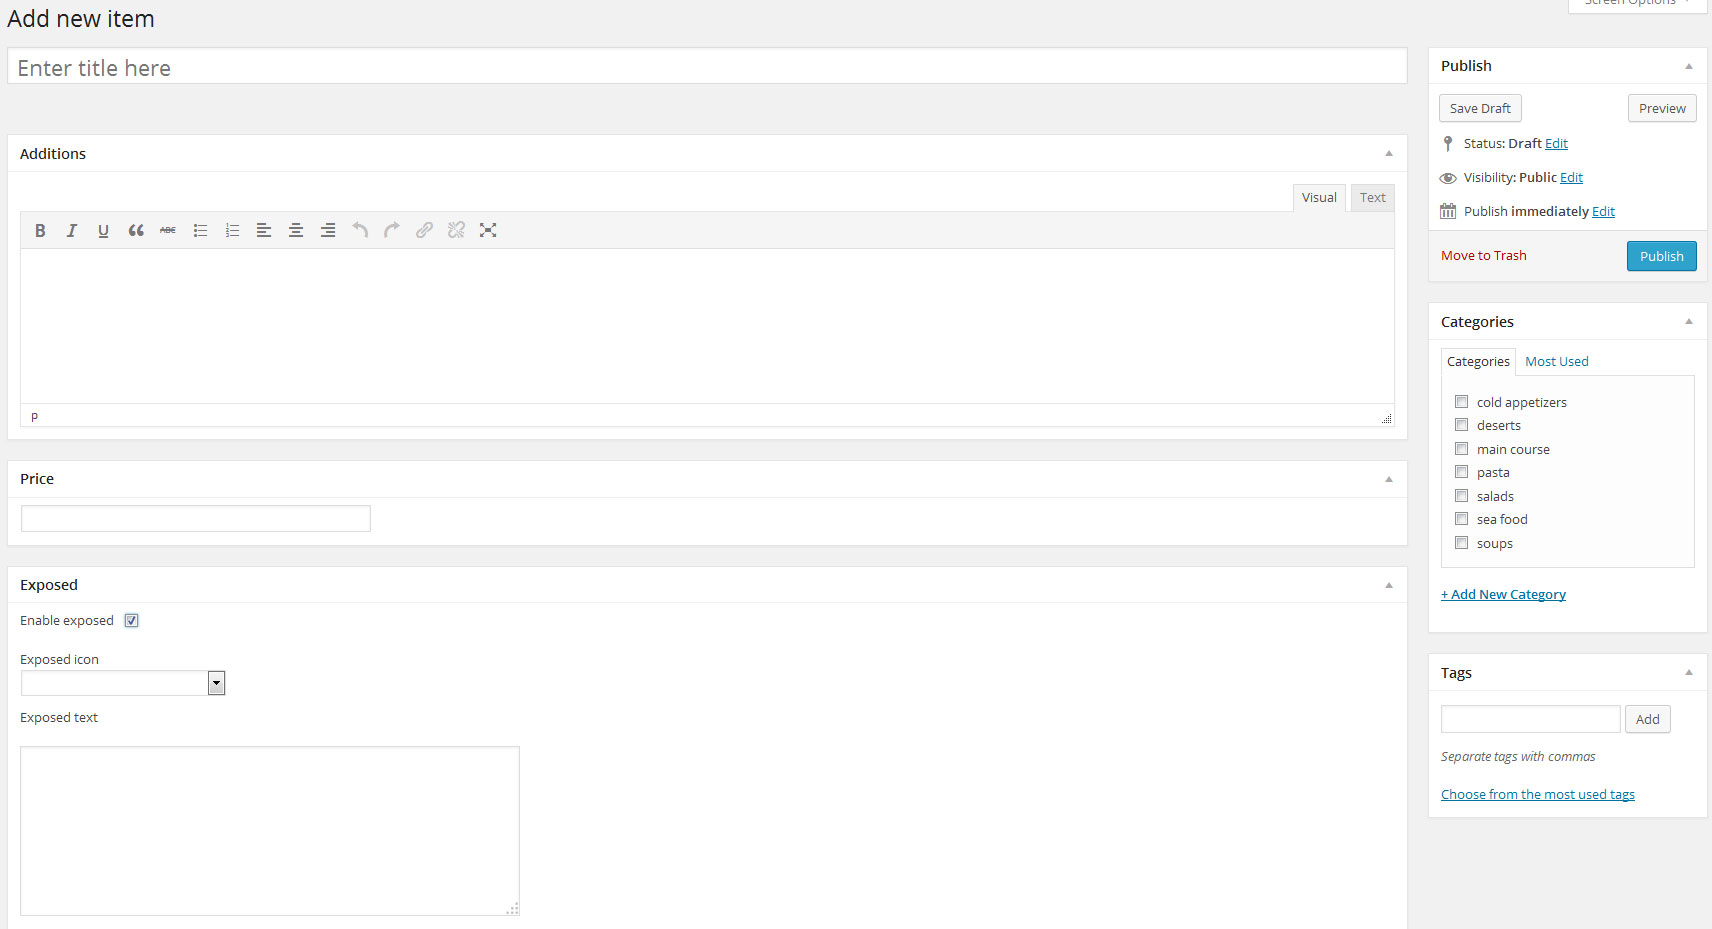
To add new menu item you need to add title, additions, price (without currency) and select category. You can also select if item is exposed and add exposed icon and exposed text. If exposed text exists than it will be visible on menu item hover. You can also add tags to menu item, which will be shown in menu single item shortcode and menu item shortcode.
Menu settings
- There you enter your currency. Default is $.
- Currency position you can set on left or right. Default value is left.
- Category orderby shortcode will change orderby in [anps_menu] and in order form orderby for categories. You can choose between: id, count, name, slug and none.
- Category order shortcode will change order in [anps_menu] and in order form order for categories. You can choose between: ascending and descending.
Menu shortcodes
Menu
[anps_menu type="horizontal/vertical" orderby="date/id/title/name" order="ASC/DESC" /]Name Default value Description type / You can select type="vertical" to have tab title's vertical align. Default value is horizontal. orderby name You can choose date/id/title/name. order ASC You can choose ASC/DESC. Single menu
[anps_single_menu category="ID" orderby="date/id/title/name" order="ASC/DESC" /]Name Default value Description category / You need to enter menu's category ID. This shortcode will show all items of selected category. orderby name You can choose date/id/title/name. order ASC You can choose ASC/DESC. Courses
Add new course
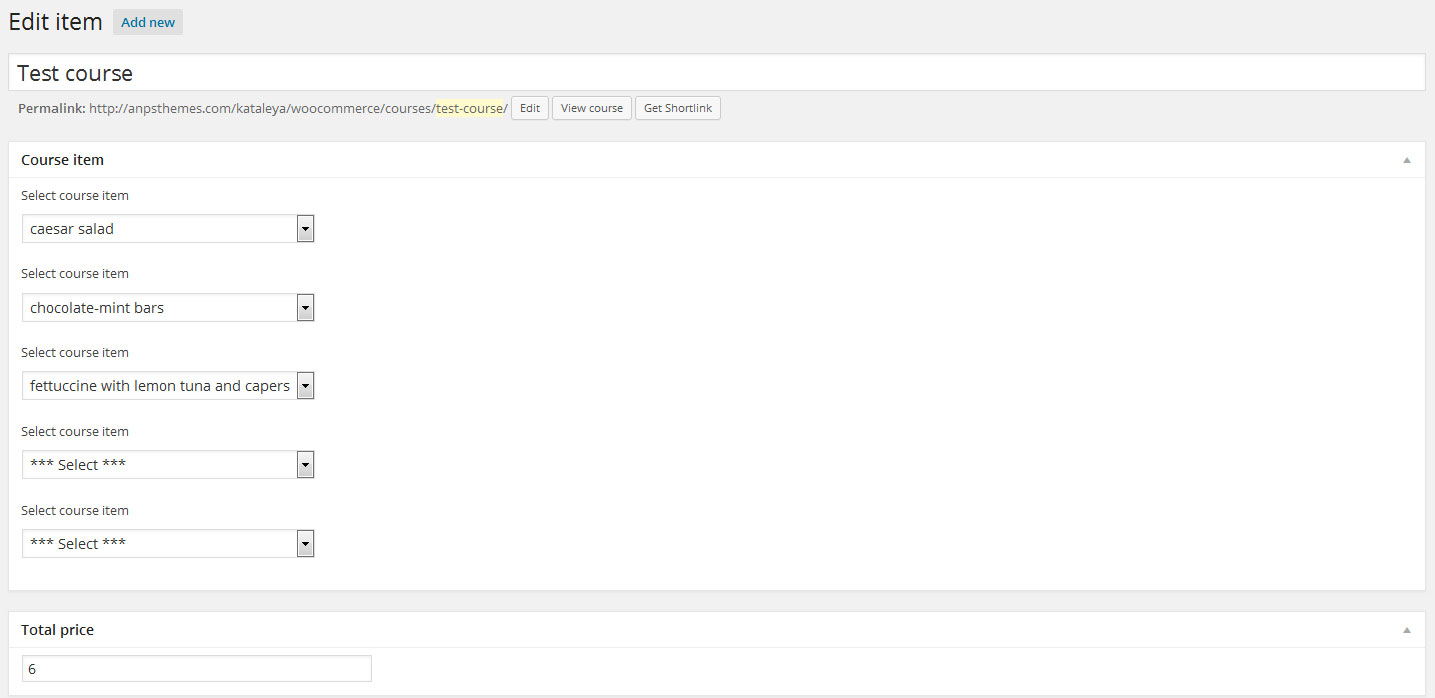
Courses are new functionallty where you can add up to 5 menu items to one course. You can also enter price without currency.
Courses shortcodes
Single course
[anps_single_course course_id='' course_class='' /]Name Default value Description course_id / Id of course course_class align-center You can choose between next classes align-center, align-left and align-right. Reservations
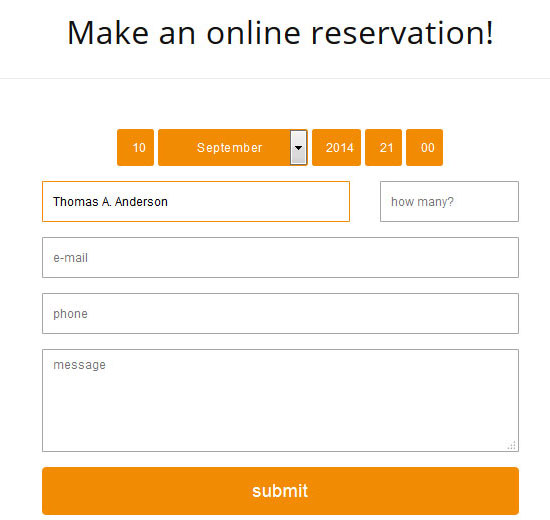
Add new reservation
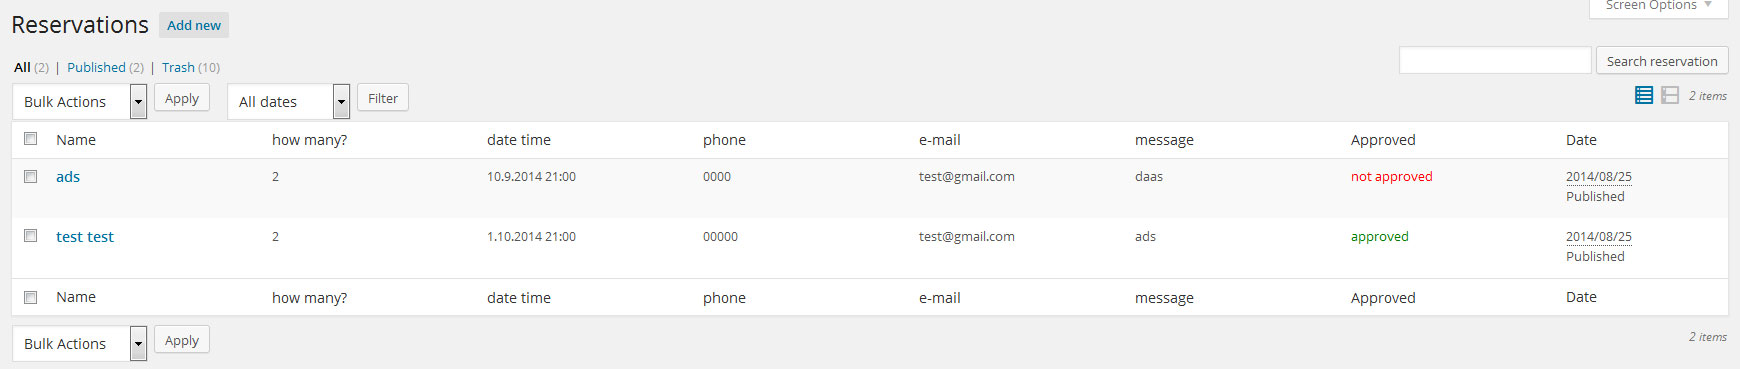
Visitors can make reservation on frontend to fulfil reservation form. Site owner can make reservation in backend.
When reservation is made site owner need to approve it in backend. After that customer gets email.
Reservations settings
General settings
Here you set email on which you will receive every reservation.
E-mail layout content

Here you set content for email notifications.
Form fields
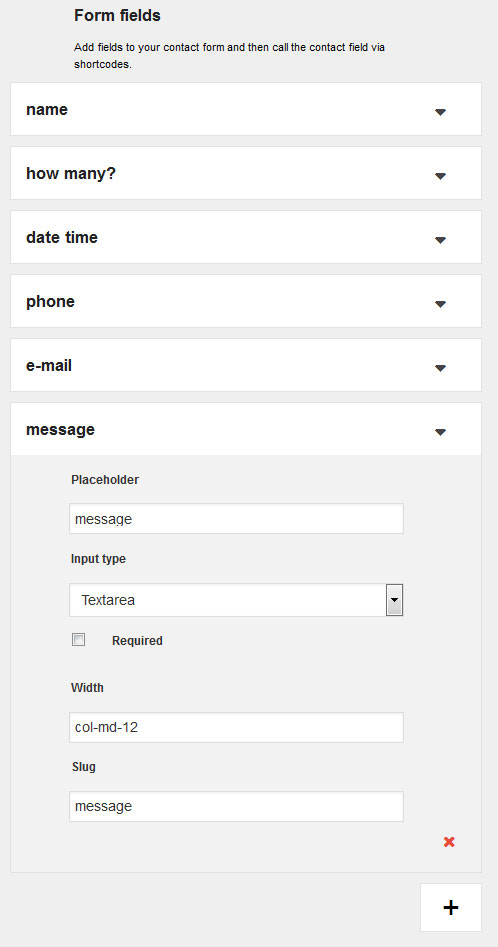
When you install Ordero plugin, default form will added on your site. You can edit, delete default values except name field which is mandatory. You can also add new fields. Placeholder is same as name, than you can select between next input types: text, textarea and date. You can also check form item as required, that means customer will have to fulfil this field. Slug is mandatory field and without this form won't work. For width we use bootstrap grid system, so you need to enter col-md-12 for example. You can change 12 with any other number (Bootstrap grid)
Bootsrap class Width col-md-12 1/1 col-md-6 1/2 col-md-4 1/3 col-md-8 2/3 col-md-3 1/4 col-md-9 3/4 Reservations shortcodes
Reservation form
[anps_reservation style="" success_msg="You have successfully made a reservation!" error_required="This element is required!" /]Name Default value Description style / You can enter style="box" and around form there will be border. success_msg You have successfully made a reservation! Enter your own success message error_required This element is required! Enter your own error message Orders
Add new order
Customers can order from menu on frontend and you get all orders into wordpress admin area. Where you have to approve it or unapprove it. Everytime when you approve/unapprove order customer gets e-mail. You can also add order from wordpress admin area manually.
Orders settings
Under general settings you can set email where all orders will be sent and you can disable order form on site. You can also set orderby and order for Products in order form. Under required fields you can also set which input field will be required in order form. You can choose name, email, phone and/or delivery address.
E-mail layout content
In E-mail layout content you can set order subject, order approve subject, order approve email content, order unapprove subject and order unapprove email content.
Orders shortcodes
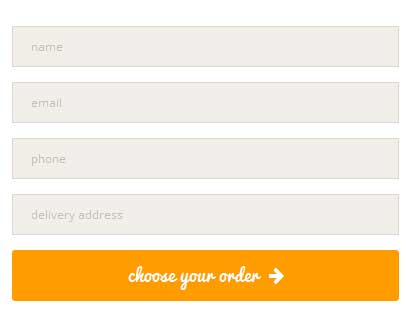
Order
[anps_order /]You can add order form on your site with next shortcode: [anps_order /] and it will add form with name, email, phone, delivery address and button.
Settings
All custom style settings are available withing "Settings" -> "Ordero" menu in Wordpress Dashboard.
Typography
If you're a typography fan, you'll like our feature to add every Google font and even add custom fonts from your computer. Since Google updates their fonts regulary, we added an option to update the list of all Google fonts available. So before setting the fonts in "General Settings" navigate to "Update Google Fonts" and click "Update google fonts" button. Than check the General settings and all Google fonts will become available.
Customize your style
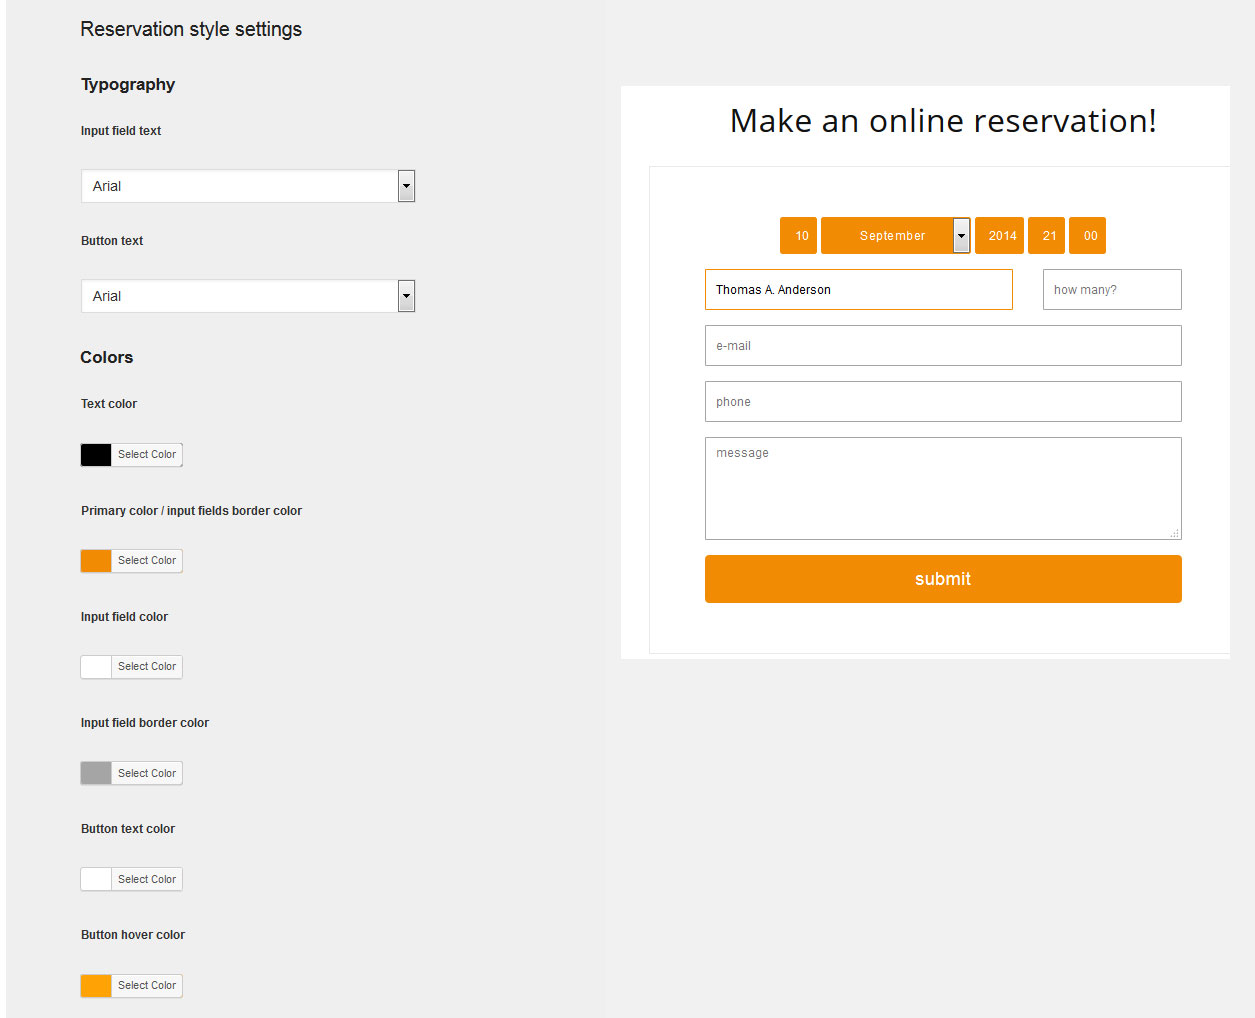
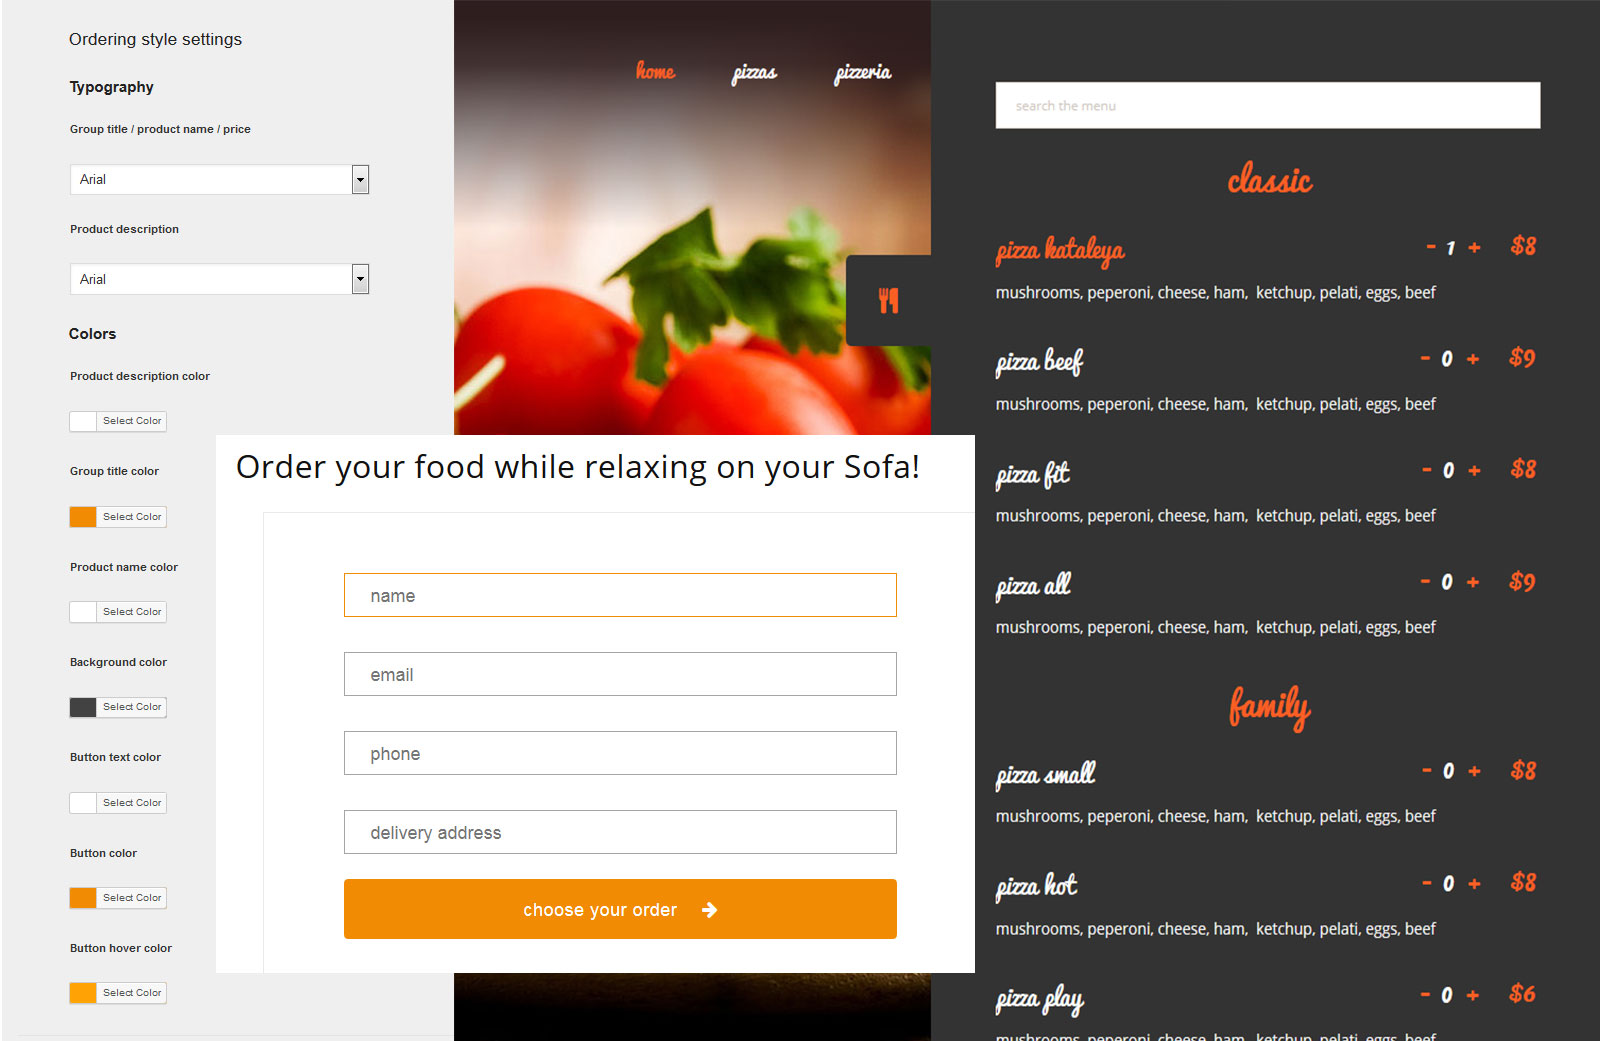
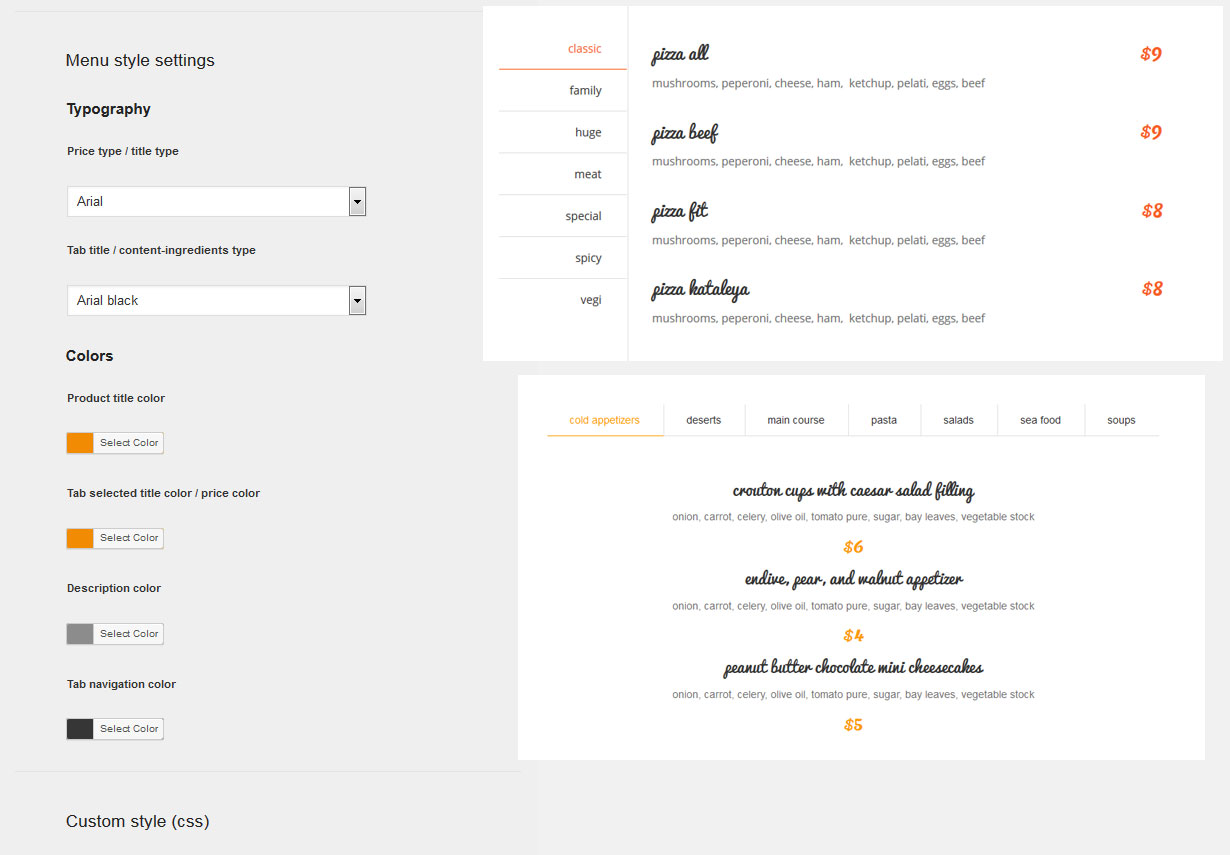
In the "General settings" tab you can define all the colores with colorpicker and choose your favourite fonts. Styling can be customized separatly for Reservations, Ordering options and Navigation menu. Each of those offers two seperate font options and colours used. For advance styling, you can add custom CSS in a "Custom style" field at the bottom of "General Options" tab, which overrides all preveously defined styles.
Reservation style options
Ordering style options
Menu style options
Sources and Credits